

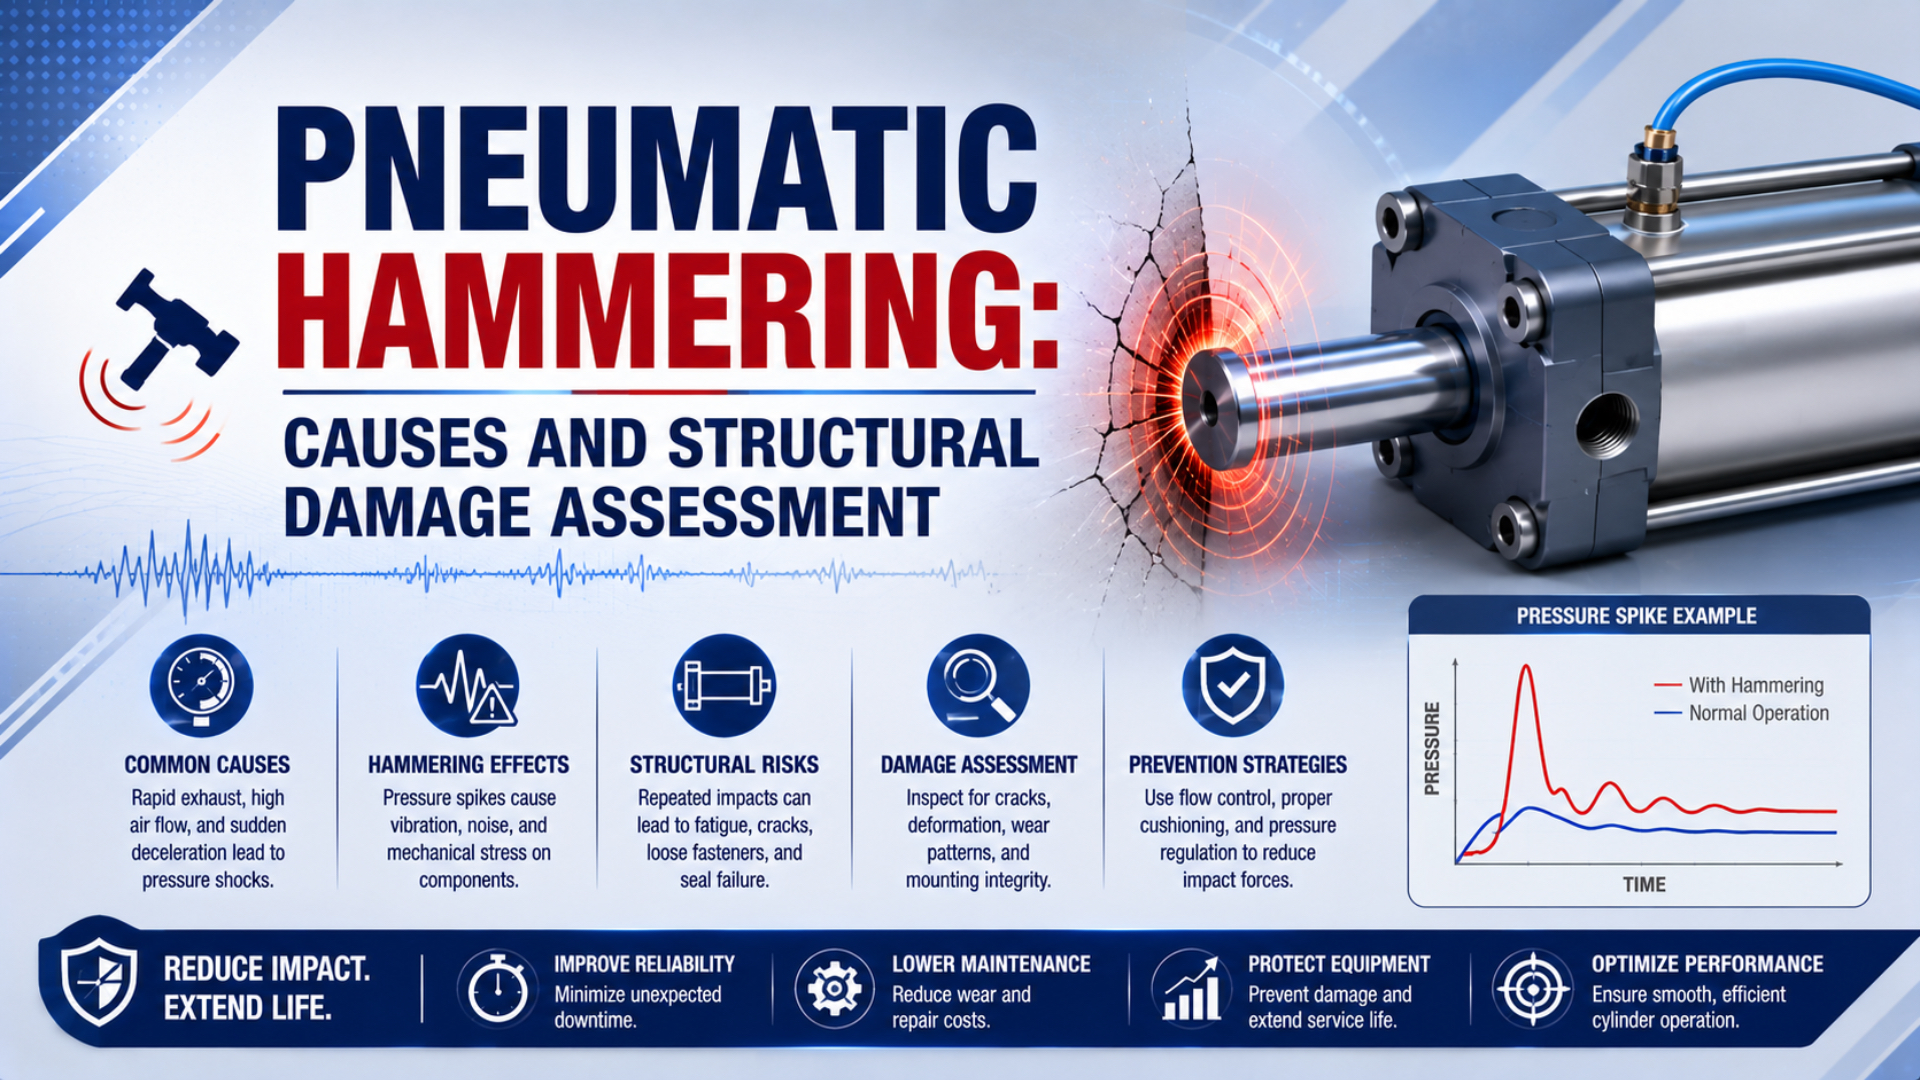
In cylinder maintenance, “pneumatic hammering” often describes a piston, carriage, or attached load striking the end of travel hard enough to produce a sharp bang and visible machine vibration. This article uses the term in that field sense. It does not mean a dry-gas pressure transient in a valve-and-piping network.
The first task is therefore classification, not adjustment. Confirm where motion stops, preserve the pressure and position evidence, isolate all stored energy, and inspect the complete reaction path before returning the machine to service. A damaged mount can remain dangerous even after the cylinder begins running quietly.
Key Takeaways
- Parker warns that cushion-entry speed may be about 50% above average stroke speed.
- A loud end-stop impact and a pipe pressure transient are different failure mechanisms.
- Isolate pneumatic and mechanical stored energy before inspection.
- Repair decisions need component-specific limits, qualified inspection, and a controlled return-to-service test.
What Does Pneumatic Hammering Mean in a Cylinder System?
ASME defines water hammer as a fluid transient caused by flow-rate change and the resulting pressure surge, while Festo describes cylinder stopping as end-position cushioning that absorbs moving kinetic energy. In this article, pneumatic hammering means hard end-of-stroke impact rather than every pressure wave or noise in a compressed-air system (ASME; Festo).
End-of-stroke impact is the collision or rapid deceleration of a cylinder’s moving assembly at the end position. Pneumatic air hammer is a travelling gas-pressure transient in a valve-and-piping network. Water hammer is a liquid-flow transient, which can occur in nominally pneumatic equipment when condensate forms a moving liquid slug.
That distinction changes the inspection plan. If the piston or machine stop receives the first reaction, start with motion, cushioning, alignment, and the mechanical load path. If a valve event creates a travelling pressure disturbance in tubing or a manifold, use a pneumatic air-hammer investigation instead. Condensate slugs require a separate water-hammer check.
| Observation | Most likely starting point | Evidence to capture first |
|---|---|---|
| Bang occurs exactly as the carriage reaches full travel | End-of-stroke impact | Position, cushion-entry speed, stop contact, acceleration |
| Noise starts at a fast valve event and travels through piping | Gas pressure transient | High-speed pressure traces at two or more locations |
| Impact occurs before the cylinder reaches its own end position | External hard-stop collision | Stop alignment, guide position, contact witness marks |
| Piston rebounds or creeps after entering the cushion zone | Cushion tuning or capacity problem | Position-time trace, chamber pressure, exhaust restriction |
| Sharp event appears after condensate accumulates | Liquid-slug transient | Drain condition, low points, separator and receiver condition |
The sound is a symptom, not a mechanism. A microphone may help locate the event, but it cannot tell you whether the first cause was piston contact, a bottomed shock absorber, backlash closing in a linkage, or a pressure wave arriving through the manifold.
How Can You Confirm the Noise Is an End-of-Stroke Impact?
Parker notes that piston speed at the start of cushioning is typically about 50% higher than average stroke speed in its rodless-cylinder guidance. A stroke-time average can therefore hide the velocity that matters most. Confirm hammering with synchronized position or velocity data at cushion entry, not sound level alone (Parker).
Start at reduced energy under the machine’s approved commissioning procedure. Record both directions because the effective piston area, gravity contribution, load, and exhaust path may differ. The useful evidence set is small:
- Valve command and sensor transitions on one time base.
- Position or velocity near the final portion of travel.
- Pressure at both cylinder ports, measured with suitable bandwidth.
- Acceleration at the cylinder mount or machine stop when structural vibration matters.
- High-frame-rate video or witness marks showing which surface contacts first.
What proves end impact? The decisive pattern is a rapid deceleration or contact indication at the end position followed by the structural response. A pressure peak recorded afterward may be an effect of the collision. It isn’t automatically proof that a piping transient caused the event.
Watch for misleading substitutes. A PLC trend sampled too slowly can miss a short event. A pressure gauge shows regulator-level behavior, not the force-time history at a bracket. Likewise, a frame accelerometer measures local structural response; it doesn’t directly measure piston force.
Why Can End-of-Stroke Impact Damage More Than the Cylinder?
Festo describes three common end-cushioning approaches: elastic, pneumatic, and hydraulic. When the installed stopping system doesn’t absorb the event energy as intended, the remaining reaction follows the machine’s stiffness path through the piston, rod or carriage, mount, guides, fasteners, welds, frame, and foundation (Festo).
The starting energy relationship is:
Here, is translational kinetic energy in joules, is the total moving mass in kilograms, and is measured velocity at cushion or stopper entry in metres per second. The equation shows why entry velocity deserves attention: doubling quadruples when mass is unchanged.
It does not predict peak force. Contact stiffness, stopping distance, cushion pressure history, bearing clearance, mounting flexibility, and local resonance shape the force-time trace. The separate pneumatic cylinder impact-force guide explains the boundary between event energy, average stopping force, and measured peak reaction.
Inspect the reaction path in order:
- Piston and end cap: cushion spear, piston body, bumper, seal grooves, ports, cap ligaments, tie-rod seats, and retained fasteners.
- Rod or carriage: straightness, surface damage, thread or attachment condition, guide play, and evidence of side loading.
- Cylinder mounting: flange, clevis, trunnion, foot, pins, bolts, washers, and mounting-hole bearing surfaces.
- Machine restraint: guide rails, stops, shock-absorber brackets, welded joints, frame members, anchors, and surrounding guards.
- Connected devices: sensors, cables, fittings, tubing, workholding, and tooling that may have received acceleration or displacement.
The first visible crack isn’t necessarily the first damaged component. A flexible bracket may reduce the local mark on an end cap while increasing bending at a weld toe. Trace the reaction through the assembly before deciding that replacing the cylinder alone closes the failure.
What Must You Do Before Structural Inspection?
OSHA 29 CFR 1910.147 covers servicing hazards from pneumatic, mechanical, electrical, and other energy sources. After isolation, potentially hazardous stored or residual energy must be relieved, disconnected, restrained, or otherwise rendered safe, and the isolation must be verified before work begins (OSHA).
Follow the site’s authorized hazardous-energy procedure. Shut off and lock out the relevant sources, bleed pressure, restrain gravity loads, block moving members, discharge accumulators, and check for pressure that can re-form behind trapped volumes or check valves. A controller stop command or closed directional valve is not an energy-isolating device by itself.
Preserve evidence before cleaning, loosening fasteners, or dismantling the assembly:
- Photograph the installed condition, witness marks, cracked coatings, loose hardware, and displaced guards.
- Save controller logs, recipe, payload, regulator settings, valve commands, sensor timing, cycle count, and recent maintenance work.
- Mark fastener positions and record actual tightening condition without treating breakaway torque as a direct preload measurement.
- Record which direction produced the event and whether the machine was accelerating, travelling steadily, cushioning, reversing, or stopping in an emergency.
- Quarantine fractured parts and retain mating surfaces. Don’t grind, polish, or force them back into shape before the failure review.
If a component is cracked, distorted, partly detached, or supporting a suspended load, establish an exclusion zone and escalate the handling plan. Inspection should not create the next release of energy.
How Should You Inspect the Cylinder and Machine Load Path?
ISO 10099:2001 specifies final examination and acceptance criteria for double-acting, single-rod pneumatic cylinders, but it is not a universal field-damage limit for every cylinder or machine structure. Post-impact inspection must combine the exact cylinder manual, drawings, material information, qualified NDT procedures, and the machine’s risk assessment (ISO).
Begin with a clean visual and dimensional survey. Compare both ends and, where possible, compare with an undamaged assembly of the same configuration. Record actual dimensions and locations rather than labels such as “slightly bent.”
| Area | Evidence to look for | What the evidence can mean |
|---|---|---|
| End cap and tube joint | Cracks, fretting, seal extrusion, shifted cap, damaged threads | Local overload, preload loss, repeated movement, or internal contact |
| Cushion parts | Worn seal, damaged spear, blocked passage, displaced adjuster | Lost deceleration or incorrect engagement |
| Piston rod | Runout, scoring, thread deformation, seal damage | Bending, misalignment, guide overload, or secondary contact |
| Carriage and guides | Uneven wear, increased clearance, dented raceway, loose blocks | Off-axis reaction or moment transfer |
| Mounting bolts and pins | Bent shank, fretting, thread damage, ovalized contact | Slip, bearing overload, joint separation, or poor alignment |
| Brackets and welds | Crack, coating break, permanent set, torn edge | Stress concentration, bending, fatigue growth, or overload |
| External stop or absorber | Bottoming mark, leakage, bent plunger, misalignment | Insufficient stroke, capacity error, side load, or failed device |
| Frame and anchors | Weld cracking, displaced member, loose anchor, grout damage | Reaction transmitted beyond the local actuator assembly |
Choose NDT by material and defect location
ASTM E1417/E1417M-21 applies liquid penetrant testing to nonporous metal and nonmetal components and detects discontinuities open or connected to the surface. The practice sets minimum process requirements, but it still needs a detailed procedure and an applicable acceptance criterion (ASTM).
Magnetic-particle testing is limited to ferromagnetic materials. Ultrasonic pulse-echo testing can examine suitable materials for internal discontinuities, but geometry, surface condition, orientation, reference standards, and operator qualification affect what it can resolve. ASTM E114 specifically notes that true defect size depends on orientation, composition, geometry, and equipment limitations (ASTM E114).
Don’t select a method because it sounds more advanced. A penetrant indication on a nonporous aluminium bracket and a magnetic-particle examination of a steel pin answer different questions. A qualified examiner should define preparation, coverage, sensitivity, calibration, evaluation, and reporting.
Separate damage evidence from root-cause evidence
A crack at a bolt hole shows where damage became visible. It doesn’t, by itself, establish whether the initiating cause was hard end impact, loss of joint preload, misalignment, an undersized section, a prior defect, or a combination. If the fracture history suggests repeated loading, continue with the tie-rod and mounting fatigue investigation.
Which Findings Require Stop, Escalate, or Monitor?
ASTM E1417/E1417M-21 states that liquid penetrant testing is a detection process, not a complete inspector’s how-to or a universal acceptance code. That same boundary applies to the entire damage review: an indication is evidence, while disposition depends on design limits, material, location, service consequence, and an approved repair standard (ASTM).
Use a conservative triage model:
| Disposition | Typical findings | Required next step |
|---|---|---|
| Stop and isolate | Crack in a pressure-retaining or load-bearing part, permanent deformation, partly detached mount, bent rod, leaking absorber, damaged anchor, unstable supported load | Keep out of service; involve the manufacturer and qualified engineering or NDT personnel |
| Escalate before operation | Unexplained penetrant or magnetic-particle indication, fretting at a joint, lost alignment, repeated bolt loosening, changed guide clearance, unknown stop bottoming | Define further examination and acceptance criteria before a powered test |
| Controlled verification only | No rejectable damage found, cause corrected, settings documented, load path restored, and risk review authorizes testing | Test at reduced energy with guarding, instrumentation, and staged acceptance |
| Monitor with baseline | Cosmetic evidence only and formally accepted by the responsible authority | Record baseline photos or measurements and set a condition-based review trigger |
Avoid universal numbers such as a fixed allowable bore distortion, hole elongation percentage, or crack length. Those values belong to the exact drawing, cylinder manual, structural code, repair procedure, or responsible engineer. A maintenance article cannot create missing acceptance criteria.
How Do You Correct the Cause Without Hiding Existing Damage?
ACE separates shock-absorber selection into four energy quantities: kinetic energy, propelling-force energy, total energy per cycle, and total energy per hour. That method shows why simply closing a cushion screw or fitting a larger valve isn’t a complete correction. The moving system and the stopping device must be checked together (ACE Controls).
Correct the verified cause only after the damage disposition is defined:
- Restore worn or damaged cushion parts using the exact cylinder service information.
- Measure cushion-entry velocity and tune the control that actually changes that velocity.
- Confirm that meter-out devices, silencers, tubing, valves, and port pressures produce stable deceleration in both directions.
- Align the cylinder, guides, external stops, and absorber with the intended load path.
- Reduce moving mass or speed when the installed cushioning envelope is exceeded.
- Increase usable stopping distance or select a rated external absorber when the process cannot tolerate a lower entry speed.
- Correct stop timing so an external device engages through its usable stroke without the piston striking internally afterward.
For an energy screen, include both moving kinetic energy and any drive work that continues through the stopping distance:
is energy per stopping event in joules, is moving mass in kilograms, is cushion-entry velocity in metres per second, is the net force that continues to drive motion in newtons, and is effective stopping distance in metres. Apply the chosen manufacturer’s gravity, friction, effective-mass, temperature, return-time, impact-angle, and safety rules separately.
The internal air-cushion energy guide explains exact cylinder-envelope checks. When an external device is required, use the shock-absorber sizing workflow rather than a generic mass or speed threshold.
How Do You Verify a Safe Return to Service?
ISO 4414:2010 addresses pneumatic-system hazards across design, installation, adjustment, operation, maintenance, and intended use. A return-to-service decision should therefore verify more than quiet motion: isolation controls, repaired load paths, guarding, cushion behavior, pressure limits, and repeatable operation must all meet the machine’s documented risk controls (ISO).
Use a staged verification plan approved for the machine:
- Confirm inspection records, repair records, replacement-part identity, fastener requirements, alignment, and device settings.
- Verify guards, restraints, pressure relief, safe exhaust, sensors, and emergency functions before powered motion.
- Start at the lowest authorized pressure, payload, speed, and cycle count that can reveal correct sequence without recreating the damaging event.
- Capture the same position, pressure, acceleration, and contact evidence used during diagnosis.
- Increase toward the worst credible operating condition in controlled steps.
- Compare entry speed, deceleration, peak response, residual vibration, temperature, leakage, and fastener condition with documented acceptance limits.
- Reinspect the load path after the test series and save a baseline for future comparison.
A quieter stop isn’t automatically a safer stop. A softer sound may result from a flexible bracket or loose joint absorbing motion where it shouldn’t. Accept the repair only when the intended stopping device carries the event and the measured load path remains within its documented limits.
The closed-loop test is simple in principle: reproduce the relevant operating condition, prove the corrected mechanism, and show that no inspected component is accumulating displacement, looseness, leakage, or damage. If the evidence doesn’t support that conclusion, keep the machine out of normal service.
Pneumatic Hammering FAQs: What Should Maintenance Teams Ask?
OSHA 1910.147 establishes hazardous-energy controls for servicing, while ISO 4414:2010 addresses pneumatic safety across the system life cycle. Together they reinforce the same practical rule: classify the event, isolate stored energy, inspect the actual reaction path, and verify the corrected machine under an approved procedure before normal production resumes (OSHA; ISO).
Is every loud cylinder stop pneumatic air hammer?
No. A bang synchronized with piston or carriage contact is usually an end-of-stroke impact problem. Pneumatic air hammer refers to a gas pressure transient travelling through valves or piping. Confirm the sequence with synchronized position, valve-command, and pressure traces because sound alone cannot identify which mechanism occurred first.
Can a pressure spike prove that the cylinder impact started in the piping?
No. Piston contact can compress trapped gas and create a pressure response after the mechanical event. Compare the timing at adequate sampling speed. A pressure disturbance that leads contact and propagates between measurement points supports a piping-transient diagnosis; a disturbance that follows abrupt deceleration may be an effect.
Can I return the cylinder to service if visual inspection finds no crack?
Not automatically. Visual inspection may miss surface-connected or internal defects, and the machine may have lost alignment, joint preload, guide condition, or stop capacity without an obvious crack. Use the exact acceptance criteria and qualified NDT method required by the material, component, and consequence of failure.
Will closing the cushion screw eliminate pneumatic hammering?
Not reliably. Adjustment direction and procedure are model-specific, and excessive restriction can cause rebound, slow completion, or high cushion pressure. Measure cushion-entry motion, follow the cylinder manual, and confirm the exact mass-speed or energy envelope. Replace damaged cushion parts before treating adjustment as a cure.
When is an external shock absorber required?
Use one when the exact cylinder cushion cannot accept the installed event energy, entry speed, mass, or cycle duty, or when the machine requires a controlled external stop. Select the absorber by per-event energy, continuing drive work, hourly duty, effective mass, stroke, return time, alignment, and manufacturer limits.
Sources and technical references
- OSHA 29 CFR 1910.147, Control of Hazardous Energy
- ISO 4414:2010, Pneumatic Fluid Power Safety Requirements
- ISO 10099:2001, Pneumatic Cylinder Final Examination and Acceptance Criteria
- ASTM E1417/E1417M-21, Liquid Penetrant Testing
- ASTM E114-20, Ultrasonic Pulse-Echo Straight-Beam Contact Testing
- Festo, Cylinder Cushioning: The Three Most Common Methods
- Parker, OSP-P Linear Drive System Catalogue
- ACE Controls, Calculation Basis for Industrial Shock Absorbers