

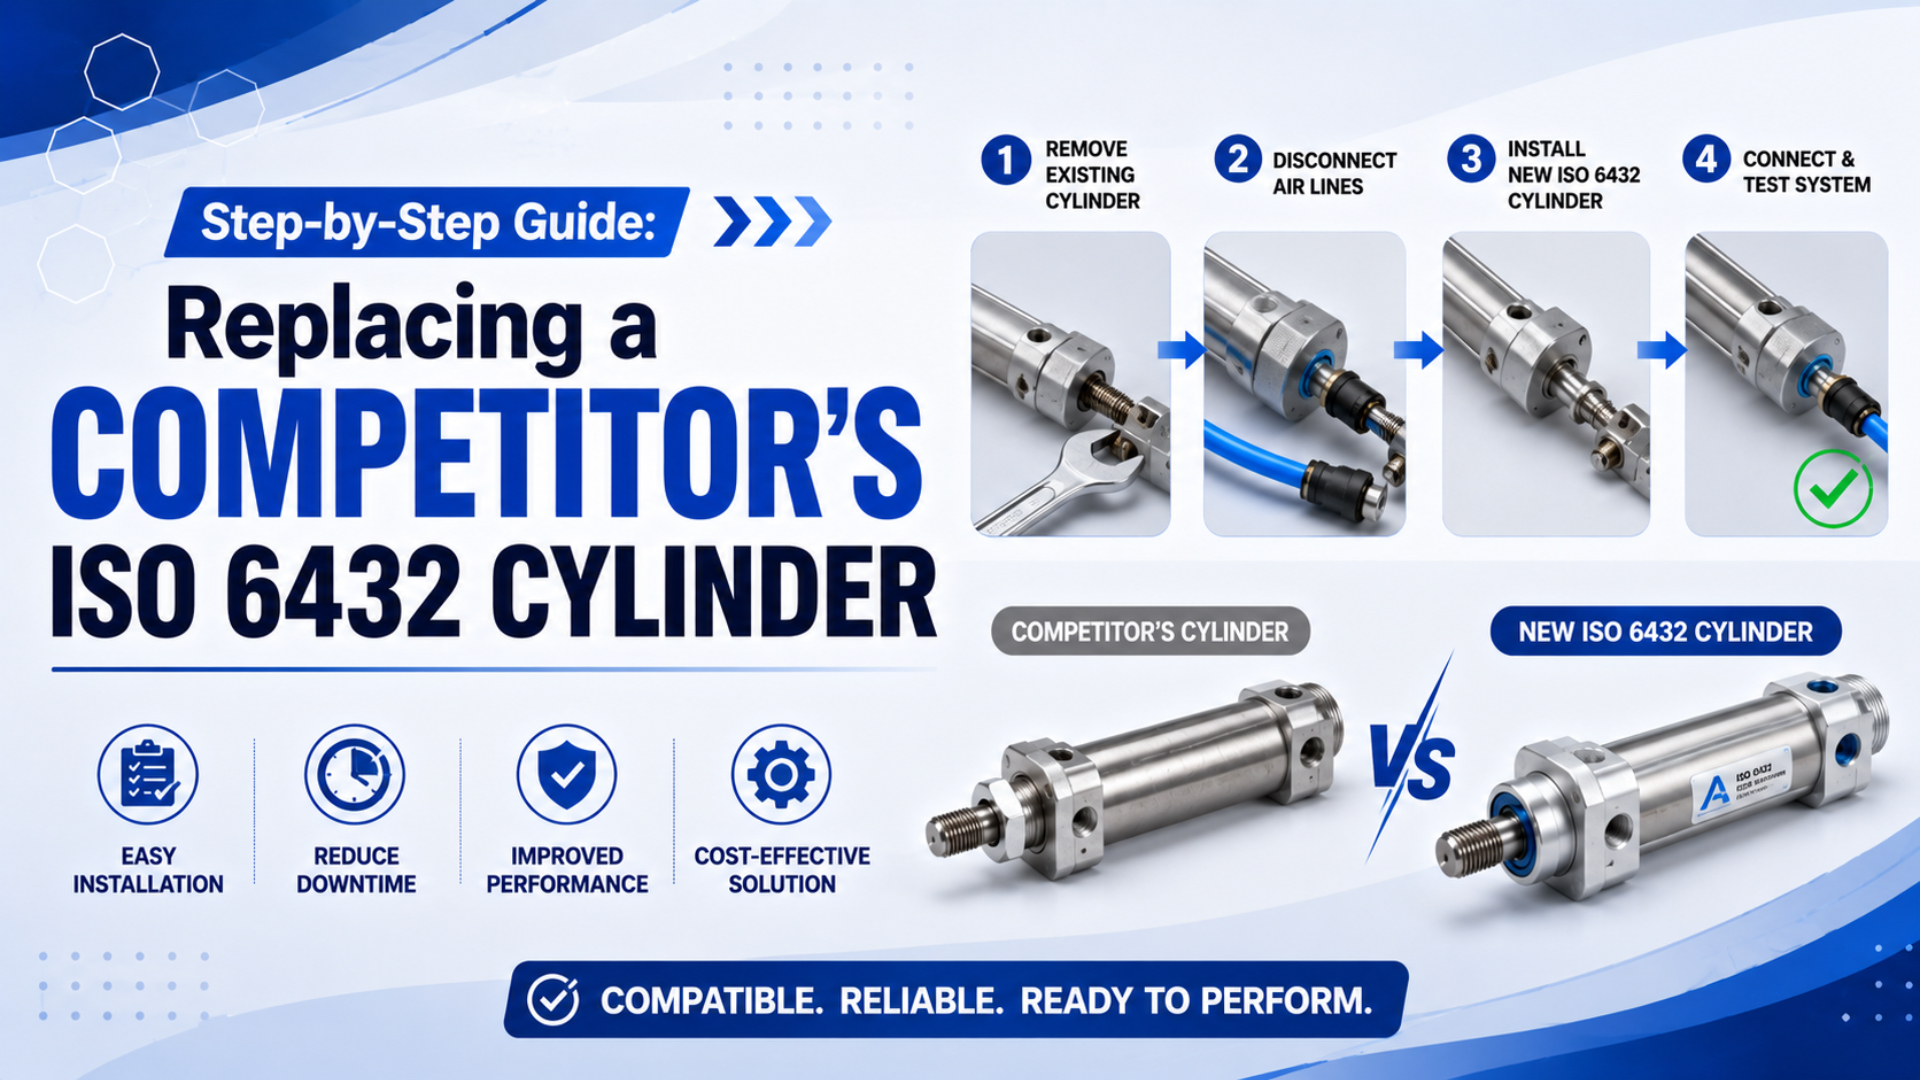
Replacing a competitor’s ISO 6432 cylinder is safe only when the replacement matches the physical interfaces and the machine still passes force, speed, leak, sensor, and safety checks. The part number alone is not enough. Treat the job as a measured replacement, not a brand swap.
The practical workflow is simple: identify the old cylinder, verify the mounting and connection dimensions, calculate force margin, prepare a lockout and removal plan, install without side load, then run a documented acceptance test before releasing the machine back to production.
ISO 6432 cylinder replacement means selecting a compact round-body pneumatic cylinder that fits the same mini-cylinder envelope, stroke, mounting, ports, rod end, sensor arrangement, and operating limits as the old unit. Cross reference means translating one supplier’s model code into a replacement drawing and test plan, not guessing from a catalog photo.
Key Takeaways
- AutomationDirect recommends at least 25% more calculated force than the actual requirement to cover friction, pressure drop, and other losses.
- CAGI says a well-designed compressed-air system should stay within 10% pressure drop from compressor discharge to point of use.
- OSHA includes pneumatic energy in hazardous energy control, so replacement work starts with isolation, venting, and restart verification.
- Don’t promise fixed savings. Compare unit price, lead time, drawing fit, spare availability, and measured acceptance results.
In our experience, the best replacement request is not “send me your equivalent.” It’s a one-page packet with the old model number, photos, bore, stroke, rod thread, port thread, mounting, sensor, working pressure, and what failed. That packet prevents most wrong-cylinder orders.
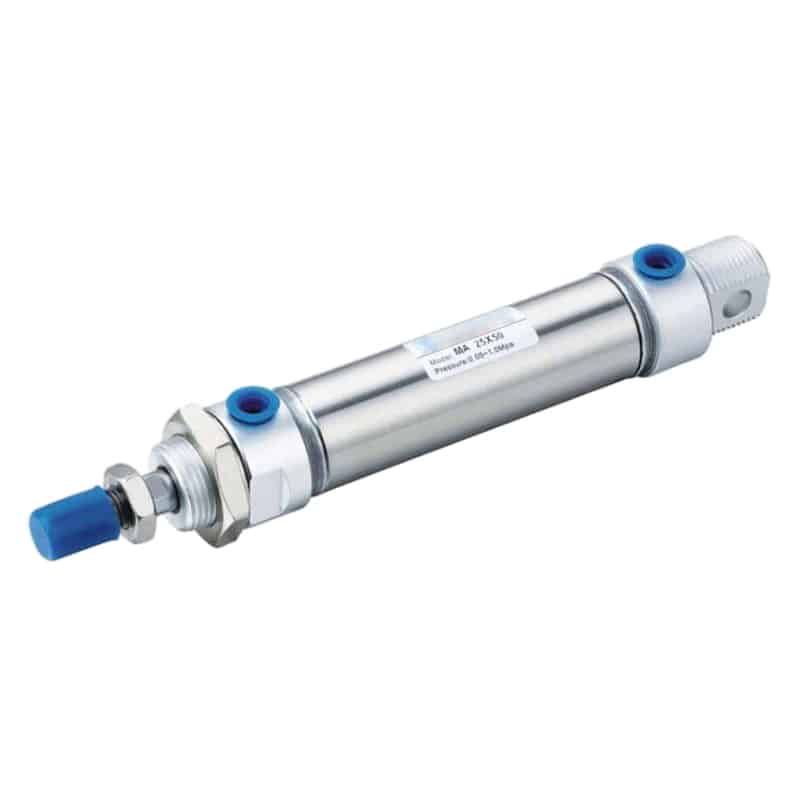
For product-family context, compare the measured replacement data with the MA/MA6432 Series ISO 6432 mini pneumatic cylinder page after the old cylinder has been measured.
Can You Replace a Competitor’s ISO 6432 Cylinder Safely?
Yes, if the replacement passes measured fit and performance checks; OSHA lists pneumatic energy as a hazardous energy source, and AutomationDirect recommends 25% extra calculated force above the actual load requirement (OSHA, 2026; AutomationDirect, 2026).
That means the safe decision is not “same ISO family equals same machine result.” ISO-style compact cylinders can still differ in rod thread, sensor groove, port orientation, cushion option, seal material, magnetic piston, accessory brackets, and exact overall length. The old part may also have a special option hidden in the model code.
Use this gate before you ask purchasing to place the order:
| Replacement gate | Pass condition | Stop when |
|---|---|---|
| Drawing fit | Mounting, stroke, rod end, ports, and sensor positions match the installed envelope | Any interface needs drilling, bending, or reprogramming |
| Force margin | Push and pull force exceed the measured load with practical safety margin | Working pressure is unknown or load direction changed |
| Speed behavior | Estimated stroke time stays inside the machine cycle window | Valve, tube, or exhaust path cannot support the target time |
| Safety isolation | Air and stored load can be locked out, vented, and tested | Vertical load, trapped air, or guarding is not controlled |
| Acceptance test | Leak, stroke, sensor, pressure, and restart checks are documented | Results differ from baseline without engineering approval |
If the old cylinder runs a clamp, stopper, pusher, gate, diverter, or light-duty pick mechanism, this process usually works well. If the cylinder is part of a validated medical, food, explosive-atmosphere, or safety-rated machine function, pause and confirm the compliance file before ordering.
What Data Should You Capture Before Ordering?
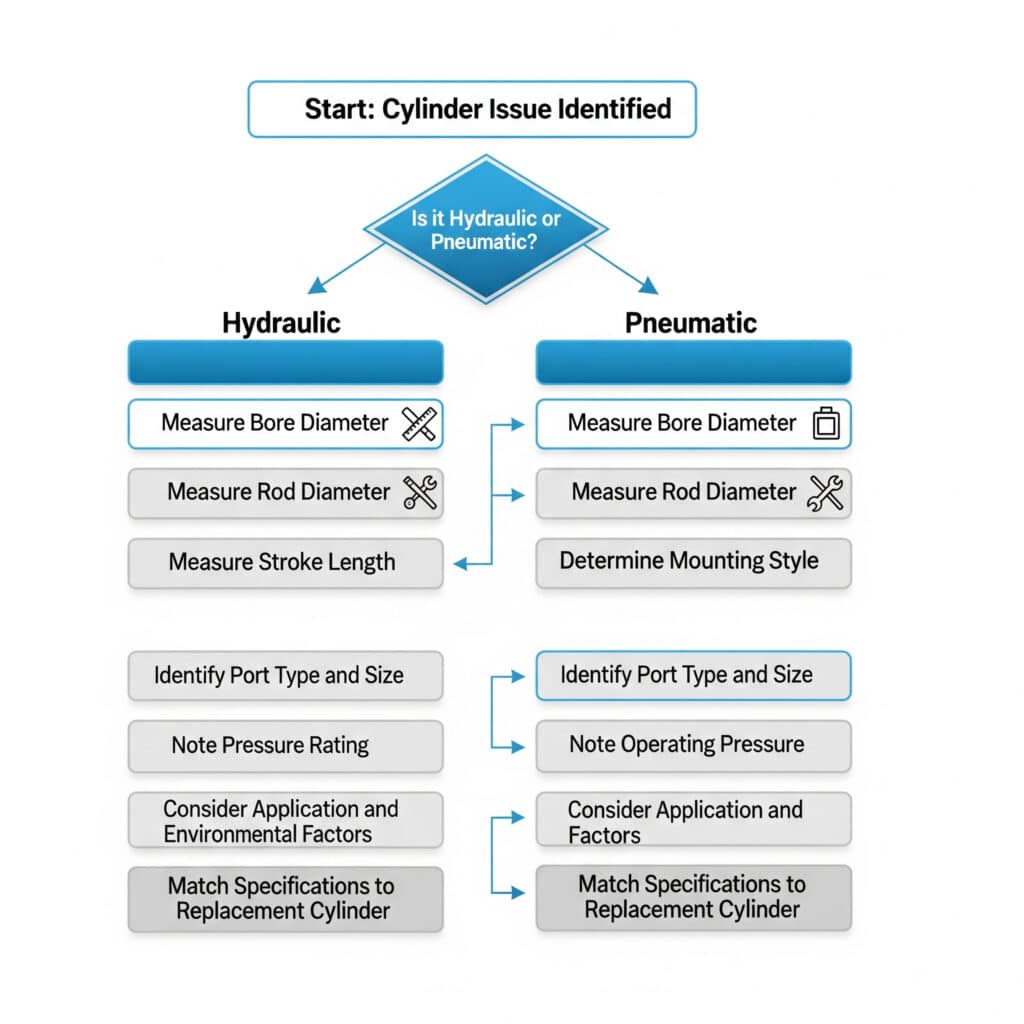
Capture at least eight data groups before ordering: old model, bore, stroke, rod end, mounting, port, sensor, pressure, load, speed, and environment. AutomationDirect’s sizing page shows why: a 4 inch bore at 100 psi gives 1,257 lbf before losses, but the same pressure with a 1 inch rod retracts at 1,178 lbf (AutomationDirect, 2026).
Start with photos. Take one photo of the full installation, one of each mounting end, one of the ports and fittings, one of the sensor area, and one close-up of the nameplate or etched model code. A blurry photo can still show port direction or bracket shape that the part number misses.
Then fill this data sheet:
| Field | What to record | How to check |
|---|---|---|
| Current model number | Full code, including suffixes | Nameplate, invoice, drawing, or old maintenance record |
| Bore | Cylinder bore in mm | Catalog decode first, then verify if disassembled |
| Stroke | Usable travel in mm | Measure rod travel, not only body length |
| Rod end | Male or female thread, thread size, rod-end accessory | Thread gauge and calipers |
| Mounting | Nose, flange, foot, clevis, trunnion, or custom bracket | Measure hole spacing and bracket thickness |
| Ports | Thread type, size, direction, fitting style | Thread gauge and photo before removal |
| Sensors | Magnetic piston, groove style, switch model, cable connector | Record voltage and output type from the switch |
| Working pressure | Static and dynamic pressure near the valve or cylinder | Gauge during the failed or normal cycle |
| Load and motion | Push, pull, lift, clamp, or stop function | Record load mass, friction, angle, and cycle time |
| Environment | Temperature, washdown, dust, oil, chemicals, vibration | Match seal and corrosion notes to the actual site |
We’ve seen wrong replacements ordered from one missing suffix. The body fit was correct, but the old cylinder had a magnetic piston and the new one did not. The machine ran, then stopped at the next sensor check. That is a preventable miss.
For the force math behind bore and rod-side differences, keep the companion guide on calculating force from pressure and area open while you fill the data sheet.
Which Dimensions Must Match Before It Fits?
Check six interface groups before approving the replacement: mounting, stroke, overall length, rod end, ports, sensors, and clearance. AutomationDirect’s bore-area table runs from 0.150 in2 to 113.10 in2, which shows why a cylinder label alone cannot replace a measured drawing (AutomationDirect, 2026).
The common fit traps are small. A port can point into a bracket. A rod thread can be correct but too short for the existing clevis. A sensor can slide into the groove but sit a few millimeters away from the old switching point. A rear clevis can fit the pin but change the closed length.
Use this drawing review order:
- Match the stroke first, because stroke changes the machine endpoint.
- Match the retracted and extended length, because the linkage may already be set.
- Match the mounting face, hole spacing, pin diameter, and bracket thickness.
- Match the rod diameter, thread size, thread length, and rod-end style.
- Match port thread, port location, and fitting clearance.
- Match magnetic piston, sensor groove, sensor voltage, and output type.
- Check cushion screws, flow controls, and manual access after installation.
If a dimension is close but not exact, stop and decide whether the machine can accept an engineered change. Slotting a bracket or forcing a tube around a frame may get production running for one shift. It can also add rod side load, create a leak point, or hide a future sensor fault.
How Do You Verify Force and Speed Before Buying?
Verify force with measured pressure and effective area, then verify speed from the available flow path. AutomationDirect recommends at least 25% extra calculated force, and CAGI says pressure drop should stay under 10% between compressor discharge and point of use (AutomationDirect, 2026; CAGI, 2026).
Use the old cylinder’s job to choose the calculation. If it pushes a stop or clamps a part, check extension force. If it pulls a slide or retracts a mechanism under load, check retraction force. Rod-side force is lower because the rod removes part of the effective piston area.
Basic force review:
Extension force = pressure x full piston area
Retraction force = pressure x (piston area - rod area)
Practical selection = required load x safety factor plus friction and pressure-loss allowance
Don’t use compressor-room pressure for the final decision. Measure as close as practical to the machine during the motion that matters. A static gauge can look fine while a small valve, kinked tube, clogged muffler, or undersized quick connector starves the cylinder during travel.
For more background on air-path limits, use the guide to pressure drop in pneumatic systems. For the motion sequence itself, see how a pneumatic cylinder works in automation.
What Is the Safe Removal Sequence?
Start removal with energy control, not wrenches. OSHA states that unexpected startup or stored-energy release from pneumatic and other energy sources can result in serious injury or death during service and maintenance (OSHA, 2026).
Use your site’s lockout/tagout procedure first. The field sequence below is a technical checklist, not a substitute for the employer’s safety program.
- Stop the machine and clear product from the cylinder path.
- Record the current stroke position, sensor state, and regulator setting.
- Lock out electrical control power when the procedure requires it.
- Shut off the air supply with a lockable valve.
- Vent downstream air and confirm zero pressure.
- Support vertical or gravity-loaded mechanisms before loosening mounts.
- Test for unexpected motion from both the manual valve and control panel.
- Photograph tubes, wires, brackets, flow controls, and rod-end hardware.
- Label sensor cables and pneumatic tubes.
- Remove fittings and linkages without twisting the rod.
- Remove mounting fasteners while supporting the cylinder body.
The hidden risk is trapped air. A branch gauge can read zero while air remains between a valve, a long tube, and a cylinder port. If the old cylinder is buried inside a frame, add a written bleed point before the next maintenance cycle.
Keep the old cylinder until the replacement passes the acceptance test. It carries model-code suffixes, wear clues, fitting orientation, and sometimes a custom rod or bracket that didn’t appear on the purchase order.
How Do You Install the Replacement Without Creating a New Fault?
Install the replacement with alignment and point-of-use pressure in mind. CAGI reports that every 2 psig of excess operating pressure can increase air compressor power use by about 1%, so don’t hide a poor installation by simply raising pressure (CAGI, 2026).
Clean the mounting surfaces. Check for burrs, paint build-up, thread damage, and distorted brackets. Put the cylinder in place loosely first, then connect the rod end by hand. If the linkage only fits when you pry it, the replacement is not aligned.
Installation checklist:
| Step | What to do | What good looks like |
|---|---|---|
| Mount body | Start all fasteners by hand | Cylinder sits flat without twist |
| Connect rod end | Thread or pin the clevis without side force | Rod moves on center through the stroke |
| Connect air ports | Use correct thread and seal method for the fitting | No cracked port, no fitting aimed into a bracket |
| Install sensors | Match old switch position, voltage, output, and connector | PLC sees stable end-position signals |
| Set flow controls | Start conservative, then tune with guarded motion | Stroke is smooth, not slamming |
| Check cushioning | Adjust only after normal speed and load are present | End impact is controlled in both directions |
Avoid over-tightening small cylinder ports. Many ISO 6432-style cylinders use compact heads with limited material around the port. If a fitting needs excessive force to seal, verify the thread type before adding more torque.
How Do You Validate Performance After Installation?
Validate with measured acceptance criteria, not a quick extend-retract check. AutomationDirect’s example shows a 4 inch cylinder at 100 psi produces 1,257 lbf in extension but 1,178 lbf in retraction with a 1 inch rod, so direction-specific testing matters (AutomationDirect, 2026).
Run the first test at reduced speed if the machine allows it. Watch for binding, twist, hard impact, missed sensors, tube movement, or unexpected linkage motion. Then restore normal speed and test under real load.
Use this acceptance sheet:
| Test | Method | Pass condition |
|---|---|---|
| Leak check | Listen, soap solution, ultrasonic tester, or pressure decay method | No visible or audible leak at ports, fittings, seals, or tube ends |
| Stroke completion | Run extend and retract under normal load | Reaches both endpoints without hesitation or binding |
| Stroke time | Timer, PLC trend, or sensor timestamp | Matches the machine’s accepted baseline or approved new value |
| Dynamic pressure | Gauge near valve or cylinder during motion | Does not fall outside the approved operating band |
| Sensor confirmation | PLC input, meter, or indicator | Both end signals switch repeatably |
| Rod and linkage alignment | Observe guarded motion and inspect after lockout | No side load marks, loosened fasteners, or bracket movement |
| Cushion and impact | Observe end-of-stroke behavior | No hard slam, bounce, or drifting endpoint |
| Restart behavior | Stop, vent if required, restart according to procedure | Machine returns without alarm or unsafe motion |
One clean cycle is not enough. Use enough cycles to see heat, sensor repeatability, fitting leaks, and end-stop behavior. For a low-risk utility axis, that may be a short maintenance-window test. For a production-critical station, record the first-shift trend.
What Should Go Into the RFQ Packet?
For EEA-bound equipment, the European Commission says manufacturers are responsible for conformity assessment, technical file setup, EU declaration of conformity, and CE marking where applicable (European Commission, 2026). A replacement RFQ should therefore include technical and compliance context, not only price.
Send the supplier one packet:
- Old cylinder brand, full model code, and photos.
- Bore, stroke, rod thread, rod-end accessory, and mounting style.
- Port thread, fitting direction, tube size, and flow-control location.
- Sensor type, sensor part number, voltage, output, cable length, and connector.
- Working pressure, measured dynamic pressure, speed target, and cycle rate.
- Load direction, load mass, linkage angle, and whether the stroke is vertical.
- Environment notes: temperature, washdown, dust, oil, chemical exposure, vibration.
- Compliance notes: CE, food contact, ATEX, customer-approved vendor list, warranty limits.
- Acceptance criteria: leak check, stroke time, sensor signal, pressure band, and restart test.
Ask for a drawing before ordering. A cross-reference table can narrow choices, but the drawing proves whether the part fits the installed machine. For repeat orders, save the accepted drawing, test sheet, and any bracket or sensor changes with the maintenance record.
FAQs About Replacing ISO 6432 Cylinders
Can any ISO 6432 cylinder replace another brand?
No. The ISO-style envelope helps, but it does not remove the need to check stroke, rod end, mounting accessory, ports, sensors, cushion option, seal material, and installed clearance. Treat the replacement as approved only after drawing review and machine acceptance testing.
What is the biggest ordering mistake?
The biggest mistake is using only the old part number or a catalog family name. Missing suffixes can change sensor magnets, seals, rod thread, cushion type, or mounting accessories. Send photos, measurements, working pressure, load direction, and sensor details with the RFQ.
How much force margin should I use?
AutomationDirect recommends factoring in 25% more force than the actual requirement to cover friction, pressure drop, and other factors. Use that as a starting point, then adjust for vertical load, side load, acceleration, friction, and site risk.
Should I change the valve when I change the cylinder?
Not automatically. Keep the valve if the replacement cylinder has similar volume and the current speed is acceptable. Check the valve, tubing, fittings, muffler, and flow controls when stroke time changes, pressure drops during motion, or the new bore or stroke is different.
Will a compatible cylinder void the machine warranty?
It depends on the machine contract, not the cylinder family name. Check the equipment warranty, customer specification, regulated-industry validation rules, and approved vendor list before replacing OEM parts. Keep the supplier drawing and acceptance record with the maintenance file.
What should I do if the replacement fits but runs slower?
Measure dynamic pressure at the machine and check exhaust restrictions first. CAGI says a well-designed compressed-air system should stay within 10% pressure drop to point of use. A clogged muffler, small fitting, undersized tube, or regulator droop can make a good cylinder look slow.
Sources and retrieval notes
Retrieval date is 2026-07-08. Verify the actual ISO 6432 source before using an ISO URL in a replacement packet; an unrelated ISO 17387 page does not support ISO 6432 cylinder interchangeability.
- AutomationDirect: Cylinder Sizing and Force, piston area table, 25% force allowance, extension and retraction force examples, and differential pressure notes.
- CAGI: Working With Compressed Air, 10% pressure-drop guidance and 2 psig excess pressure energy note.
- OSHA: Control of Hazardous Energy, pneumatic energy control and lockout/tagout context for maintenance work.
- European Commission: CE marking, manufacturer responsibility, technical file, declaration of conformity, and CE marking caveats.
- AutomationDirect video: How to Select a Pneumatic Cylinder, visual support for bore, force, and cylinder selection.